Installing Klive
Visit the project release page to get the install kits for Klive. You find the latest release at the top of the page. When you expand the Assets tab, it will list five files, including the three installation kits:
KliveIdeSetup-{version}-{arch}.AppImage: The Linux AppImage format to install Klive IDE on Linux without requiring an admin privilege to runKliveIdeSetup-{version}-{arch}.exe: Self-extracting executable to install Klive IDE on Windows x64 (NSIS installer)KliveIdeSetup-{version}-{arch}.pkg: The standard PKG format to install Klive IDE on MacOS
{version} is a placeholder for the version number of a particular release in the filename.
{arch} is a placeholder for the architecture of the target platform. It can be x64 or arm64.
Windows currently supports only the x64 architecture.
Download the file according to the operating system and architecture to use, and follow the sections of this article.
MacOS Installation
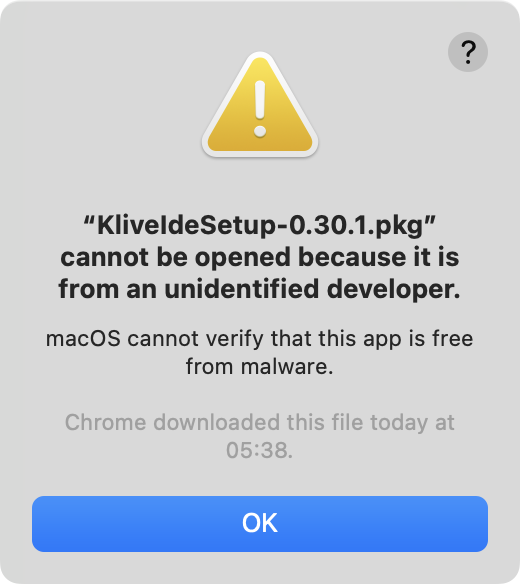
Open the downloaded .pkg file. As the file comes from an untrusted source, the OS cannot install it directly. Click the OK button to close the message.
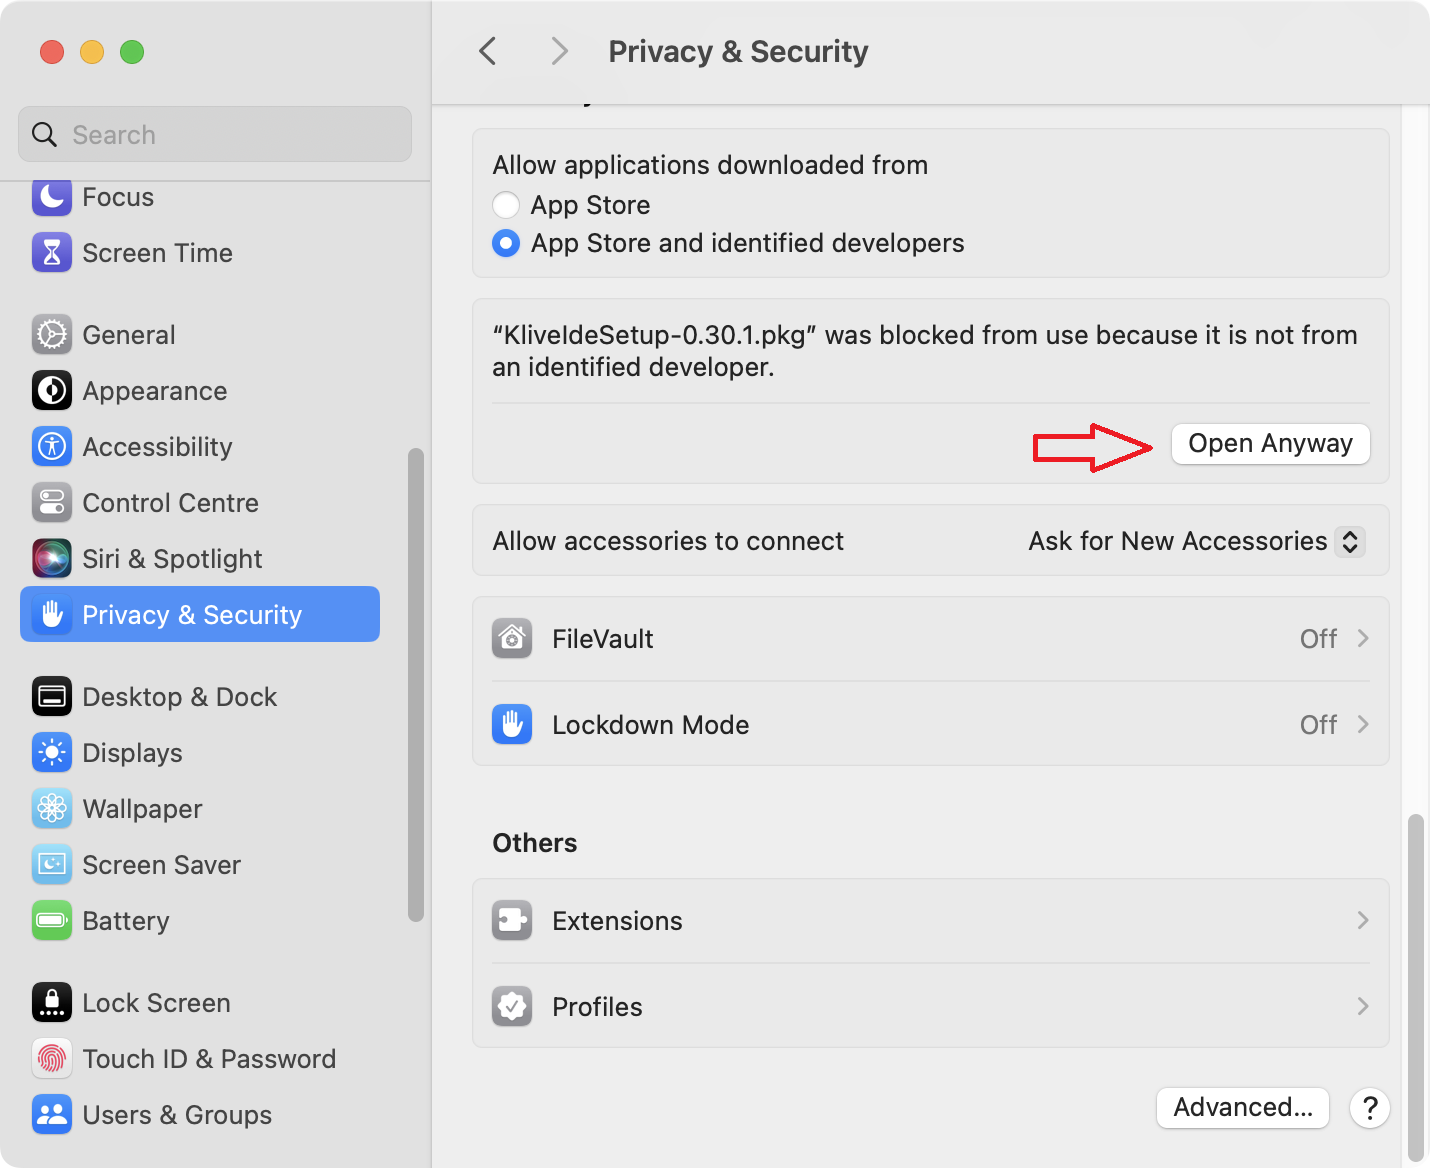
Now, open the System Settings panel and navigate the Privacy & Security tab. As you scroll down, you can see the message with the blocked filename and the Open Anyway button. Click the button to sign that you intend to run the install kit.
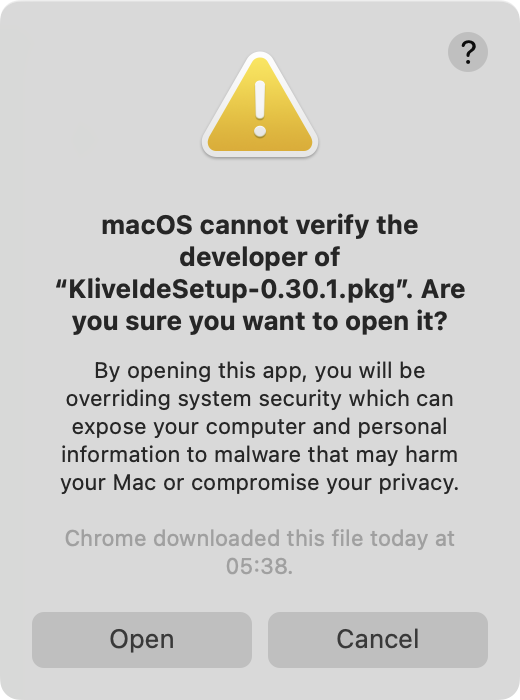
Open the .pkg file again and select the Open button in the security dialog on the screen.
The OS may ask for your password to confirm the installation.
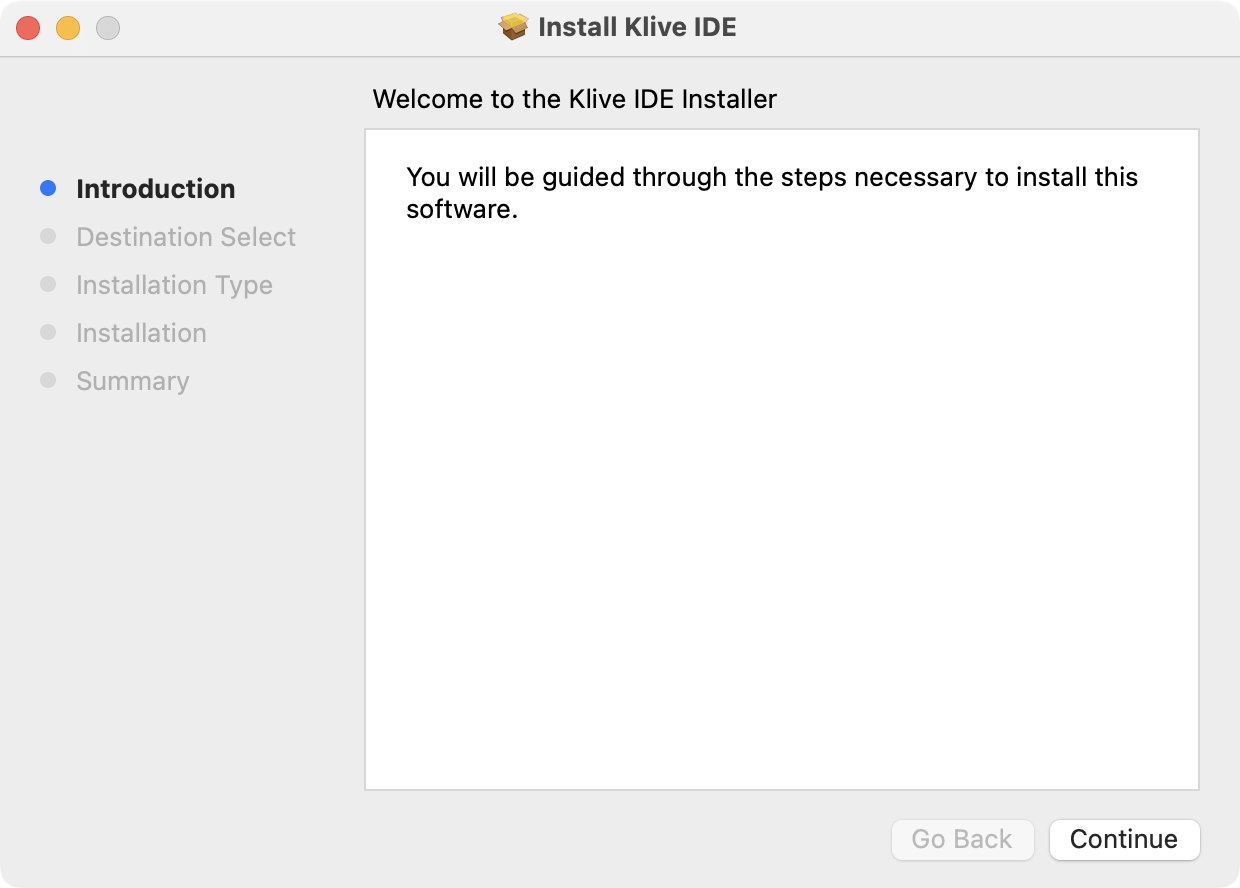
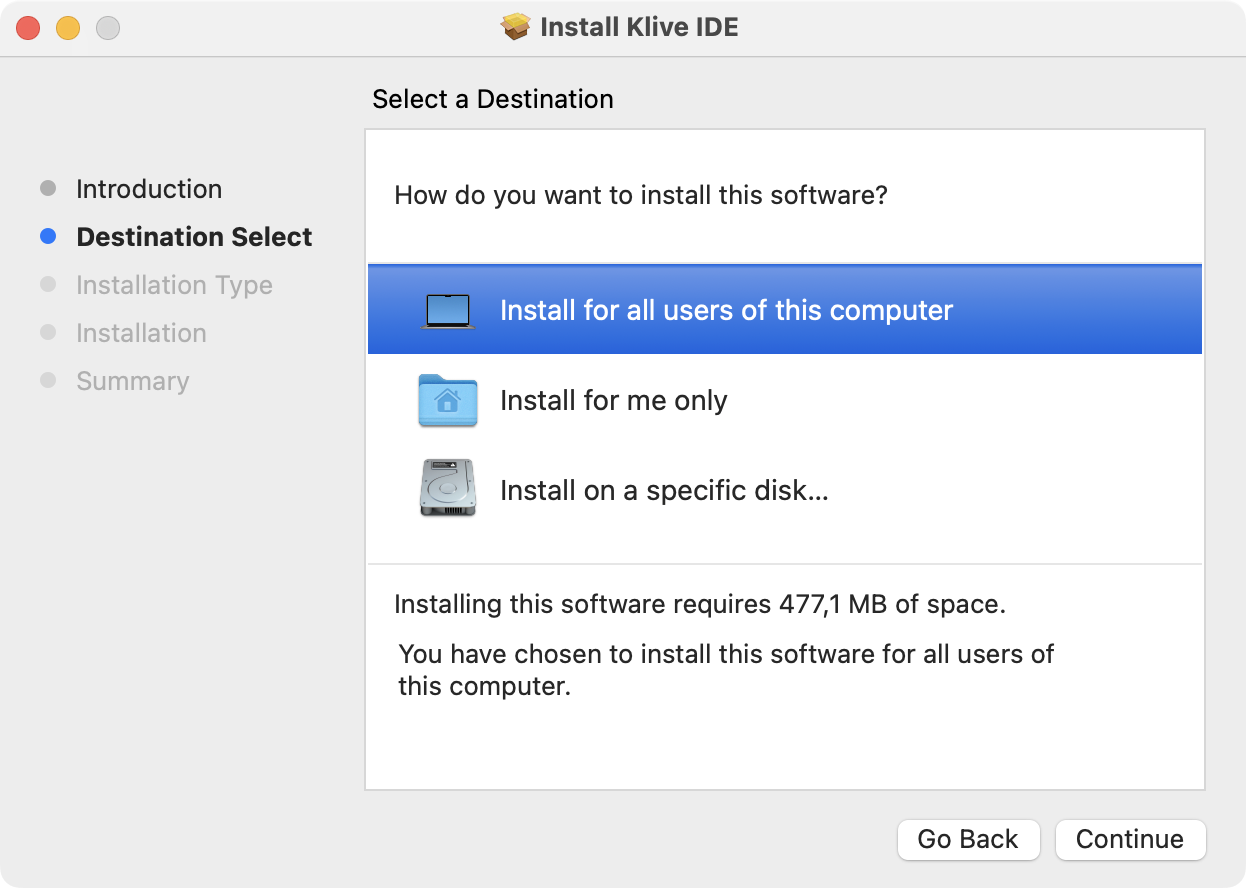
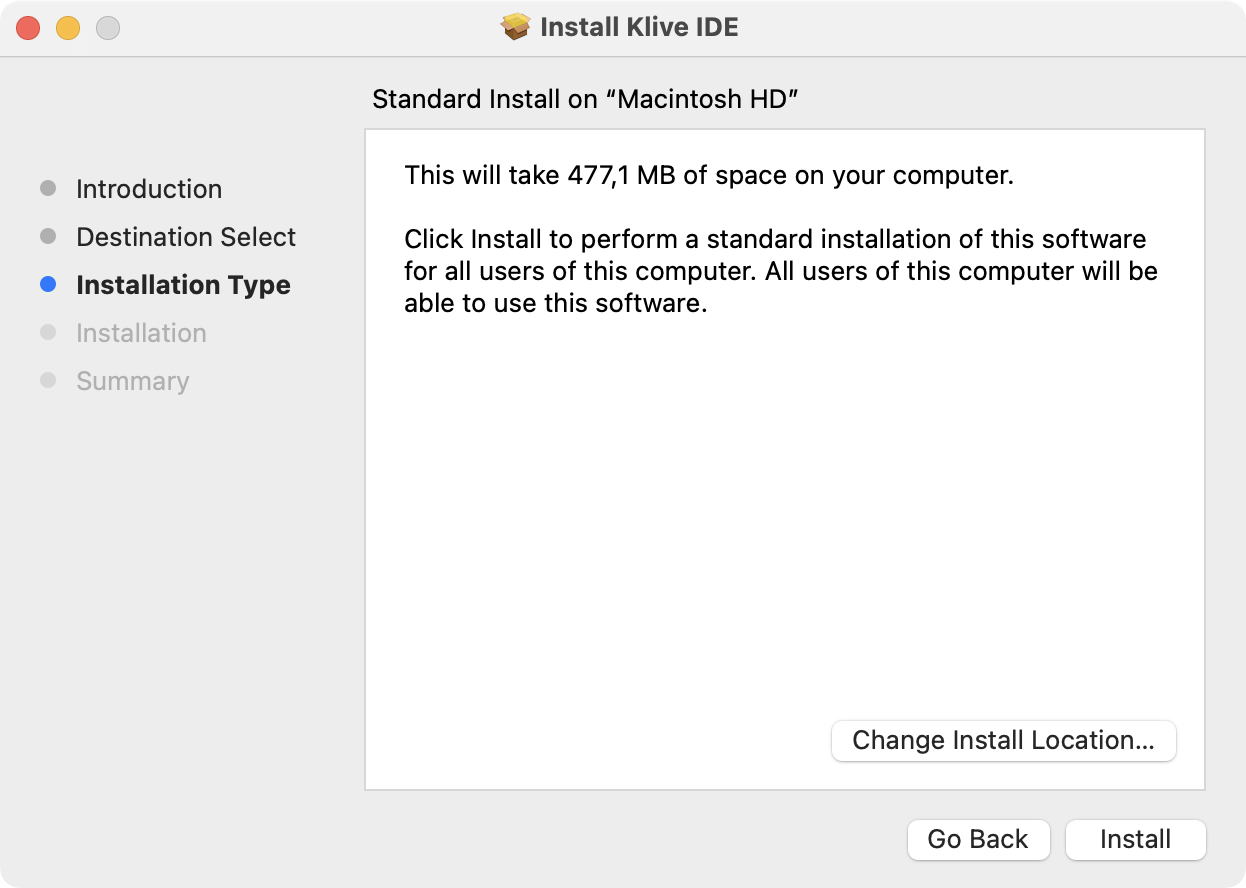
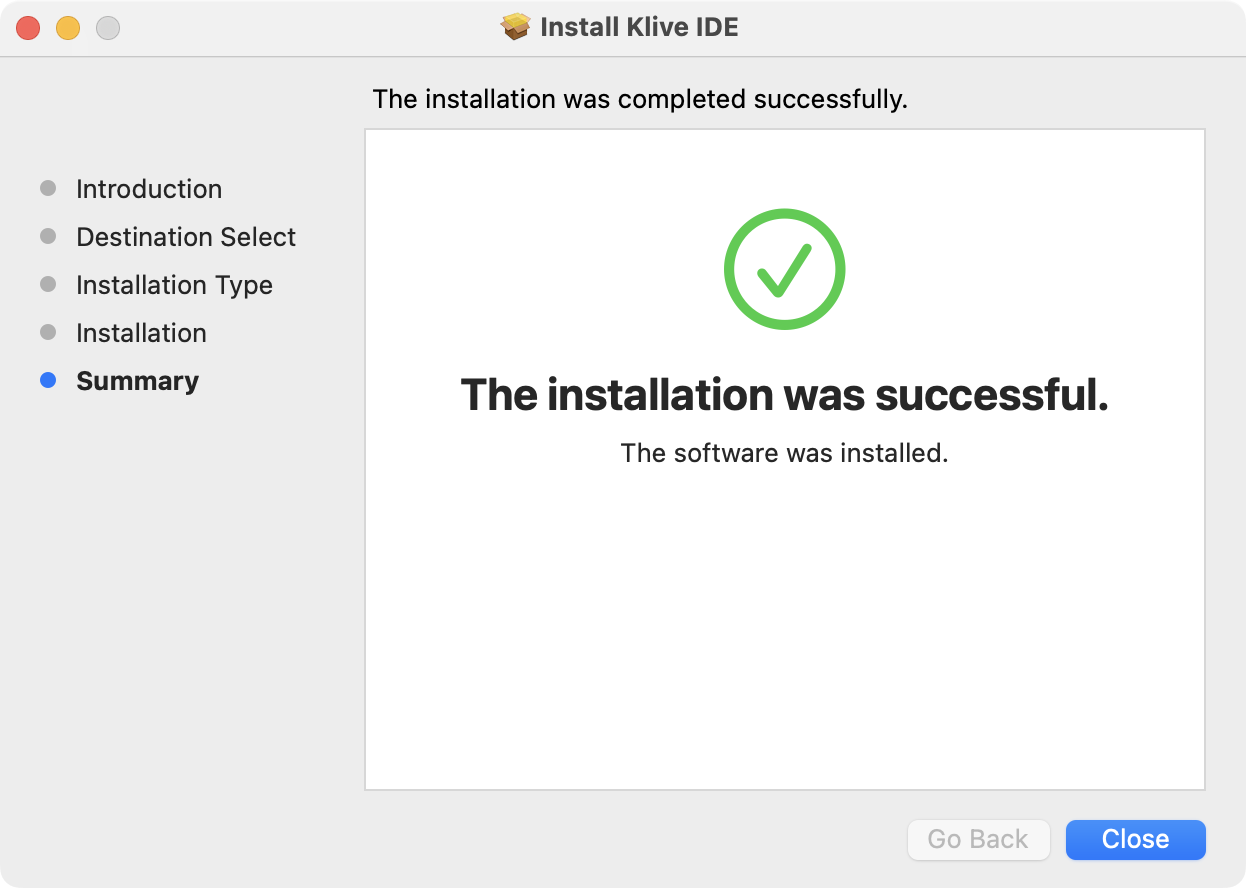
Click Open to allow the installer to run. Follow the screenshots (use Continue) to complete the installation.
The installer will create a Klive IDE folder in the Applications folder and copy the required files into it. It will also create a shortcut in the Launchpad. When you complete the installation, MacOS may ask you for access to your Downloads folder to recycle the install set optionally.
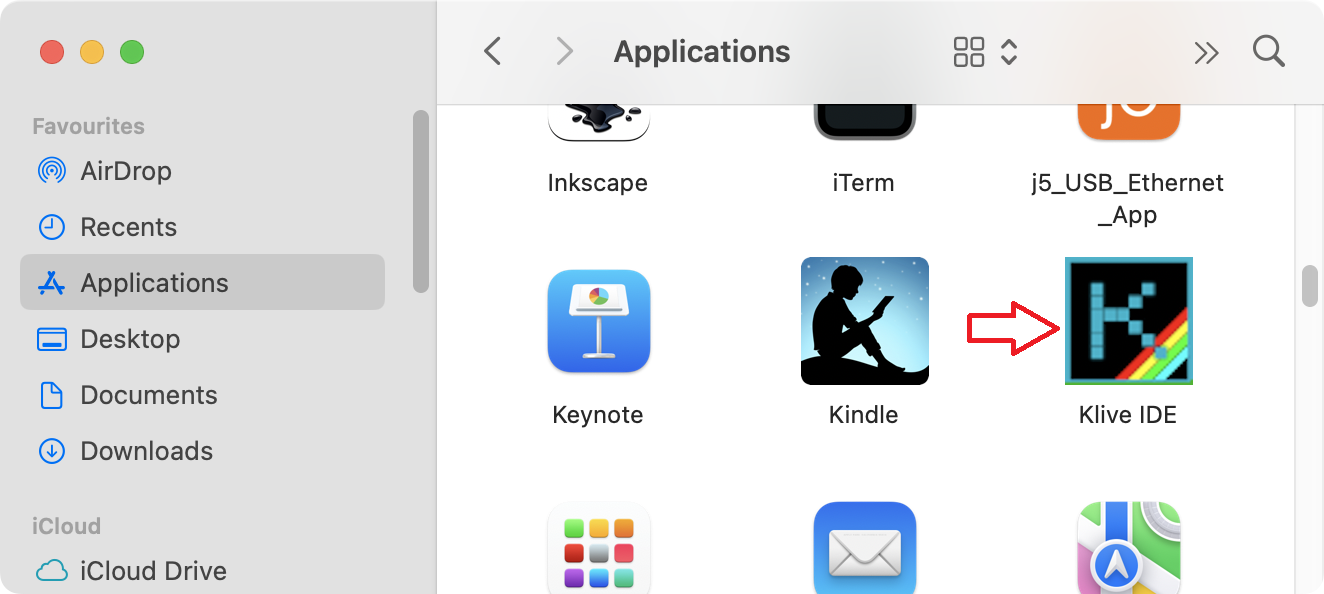
After the successful installation, you can find Klive IDE in your Applications folder.
Windows Installation
The .exe setup file is a self-extracting executable. Open it, and it will automatically extract itself and copy the executable files into the Programs (within your user home’s AppData/Local/Programs/klive-ide) directory.
Known Issue on Windows 11: Some users have reported that the installer may appear to hang or take an exceptionally long time to complete (10-22 minutes) on Windows 11 systems. This is typically caused by Windows Defender or other antimalware software scanning the installer. The installer will eventually complete if you wait.
The setup kit will start Klive IDE after completion. Later, you can start Klive IDE again:
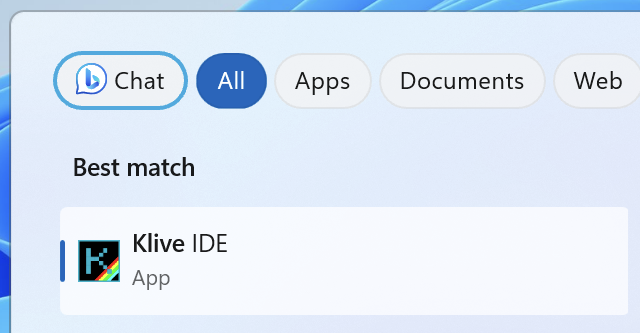
Use the search in the Windows taskbar and type “Klive”. The newly installed app shows up in the search results:
Click on Klive IDE to start it.
When Klive IDE is selected in the search result list, the right pane shows the Pin to taskbar command. Use this to add the IDE to the taskbar; later, you can run it with a single click on the Klive IDE icon.
Linux Installation
The Linux install kit is an .AppImage file. You may need to download and install FUSE on your machine to use it. For example, on Ubuntu (where FUSE is not installed by default), you can install it:
sudo apt-get install fuse libfuse2Copy the .AppImage file into the folder from which you intend to use it. Make it executable with this command line:
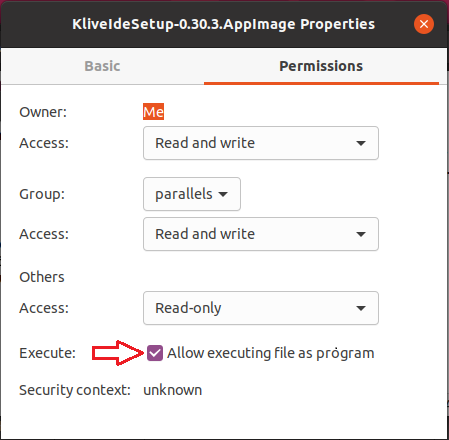
chmod +x KliveIdeSetup-{version}-{arch}.AppImageAlternatively, you can right-click on the file in the file manager and select the Properties command. In the Permissions tab, check the Allow executing file as program checkbox:
