Scripting Overview
The Klive IDE offers a simple but powerful way to automate tasks with a scripting facility. When you create a new Klive project (or open a folder containing a project), you can create script files with the .ksx file extension.
.ksx Files
When you add a new .ksx file to your project, the code editor recognizes that and creates a source file using the scripting language. This example shows an empty scripting file:
When you create a simple script, two icons appear in the document tab bar:
The first icon executes the script, the second one starts a new Klive instance and starts script execution in debug mode (so that you can debug your script with breakpoints).
When running the script, Klive displays a notification bar at the top of the code editor window:
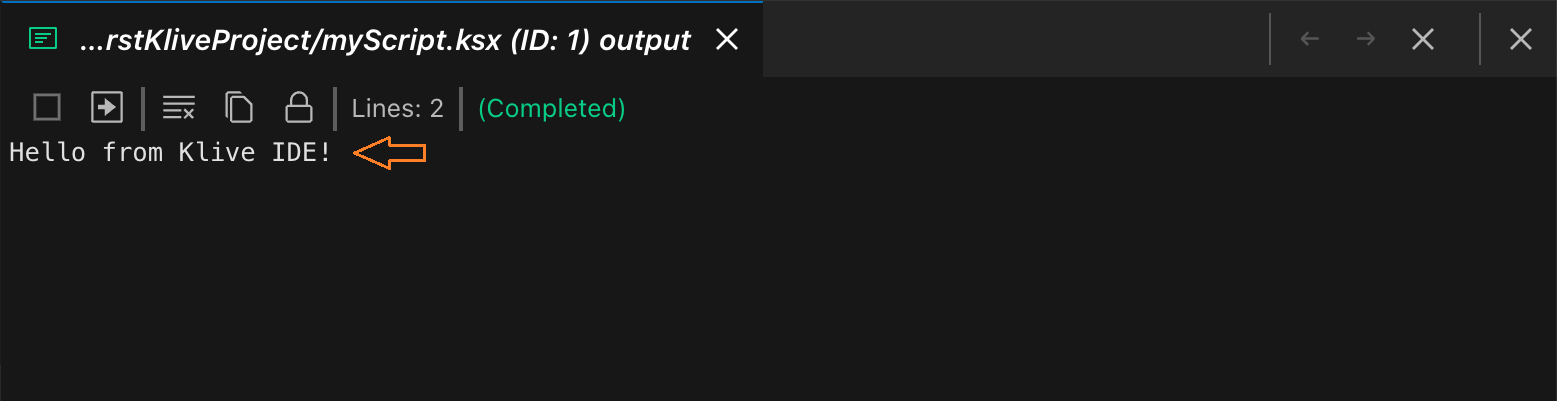
The Output Pane
As the script executes, it may display output, including information, errors, and warnings. All of these are displayed in a dedicated Output Pane below the code editor. The script execution keeps track of its output, so that you can see information from any script execution.
If you use the $log() API in your script, you can output information to the Output Pane:
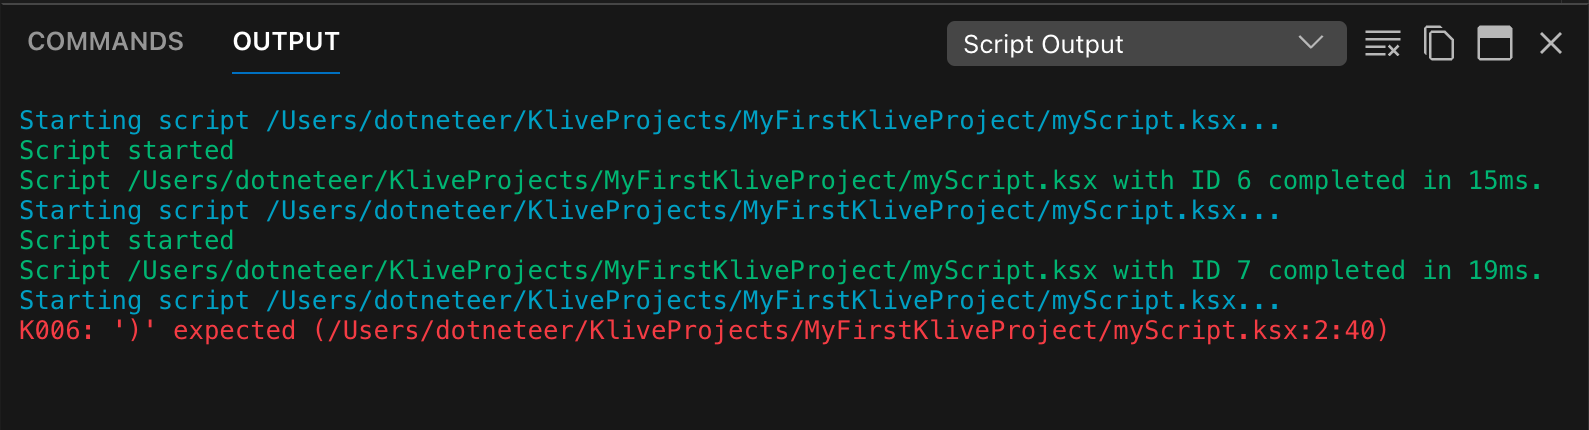
You can clear the content of the Output Pane with Ctrl+L.
Execution Progress
Sometimes, you may run a script that takes a long time to complete. Your script can display progress information with a progress bar and a descriptive text. Use the $progress() function:
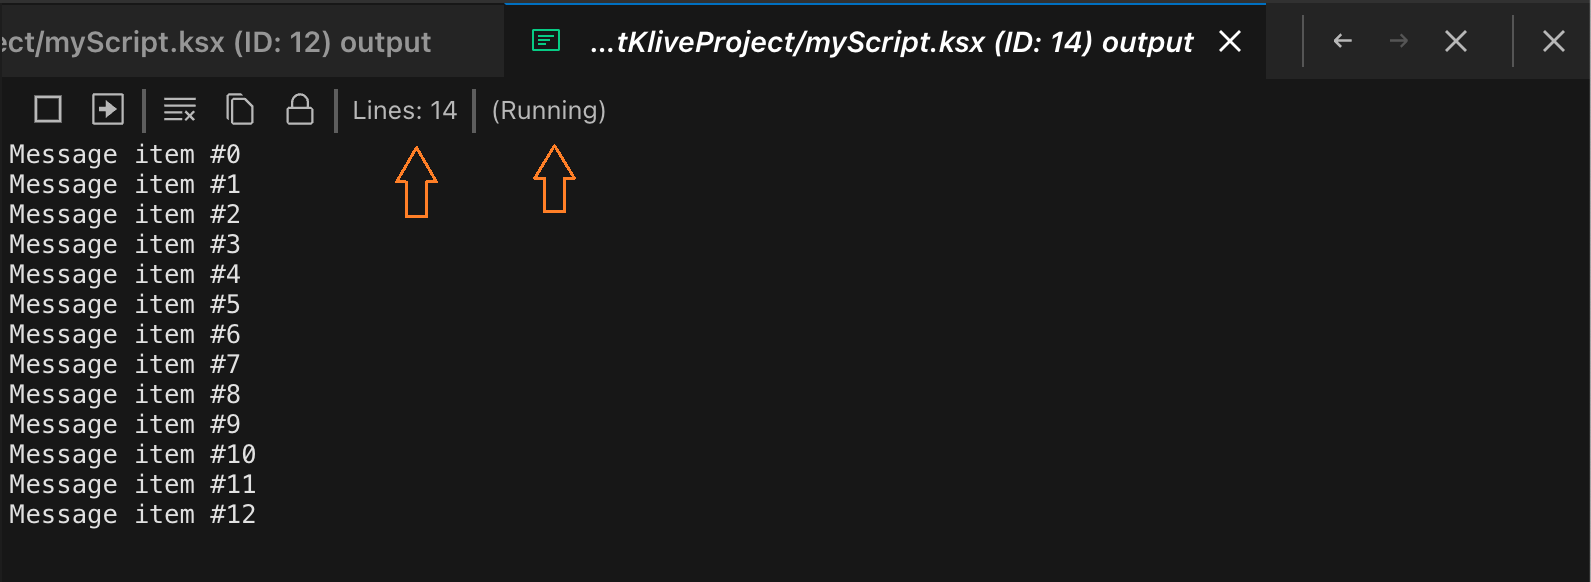
If your script takes too long to complete or enters an infinite loop, the UI hangs too. Be mindful of your script’s execution time and handle errors appropriately.
Scripting History
The Klive IDE automatically keeps track of the scripts you have executed. The latest 50 scripts are displayed in the Scripting History panel. To see it, select the View | Show Scripting History menu command:
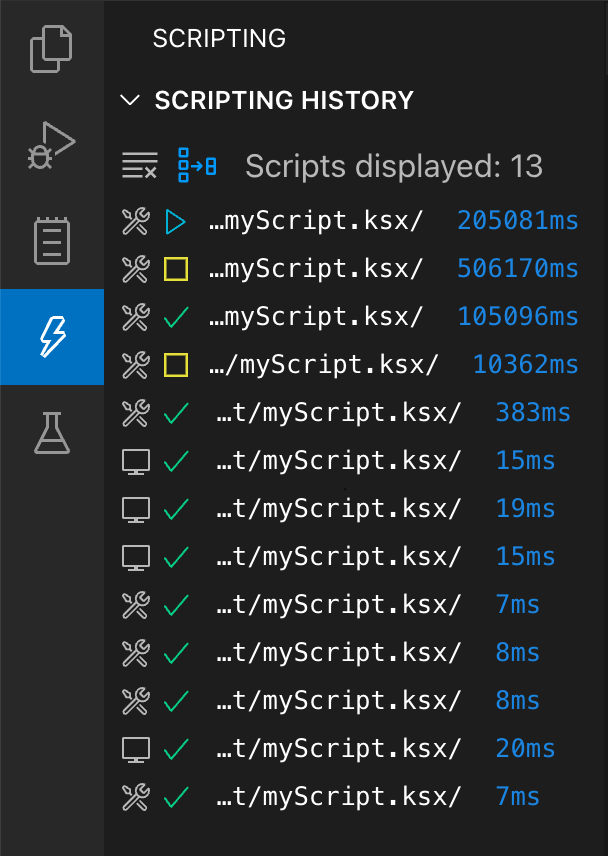
When you move your mouse over a script file name in the history, a tooltip shows you the entire path to that file.
You can click any item in the history to run that script again.