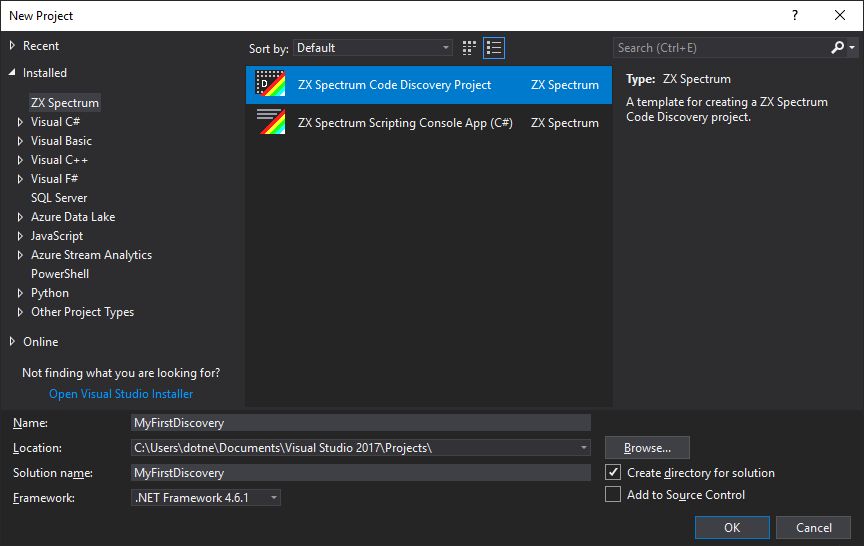
- Run the File|New|Project command (Ctrl+Shift+N), select the ZX Spectrum tab and choose the ZX Spectrum Code Discovery project type. Specify a project name (use MyFirstDiscovery).
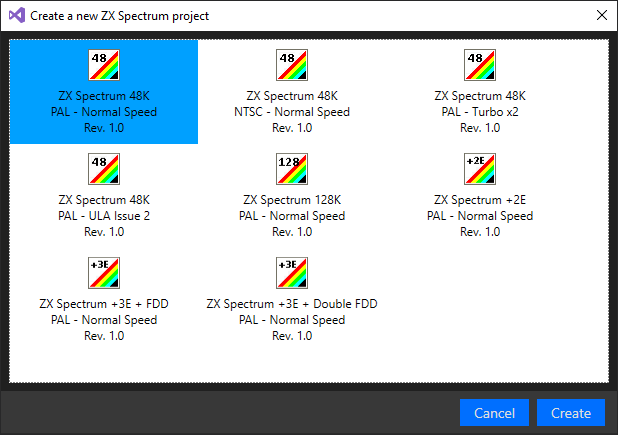
- The IDE displays a list of available Spectrum models. Select the first Spectrum 48K model (PAL - Normal Speed) from the list, and click Create.
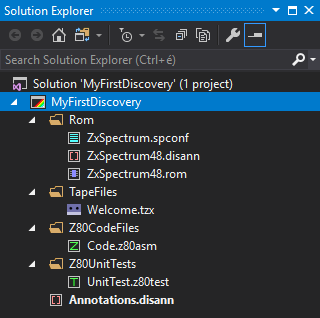
- The IDE creates a new project with a few files and folders:
| File/Folder | Description |
|---|---|
Rom |
The folder that holds Spectrum ROMs |
Rom/ZxSpectrum.spconfig |
This file stores the configuration information about the selected ZX Spectrum model |
Rom/ZxSpectrum48.rom |
The binary ROM file for the Spectrum 48K model |
Rom/ZxSpectrum48.disann |
Disassembly annotations for the Spectrum 48K ROM |
TapeFiles |
Stores .tzx, .tap (and, in the future, other) tape files |
Z80CodeFiles |
The folder to put your Z80 Assembly code files in |
Z80CodeFiles/Code.z80asm |
A simple Z80 Assembly code file |
Z80UnitTests |
The folder to put your Z80 unit tests files in |
Z80UnitTests/UnitTest.z80test |
A simple Z80 unit test file |
Annotations.disann |
Your custom disassembly annotations are saved into this file |
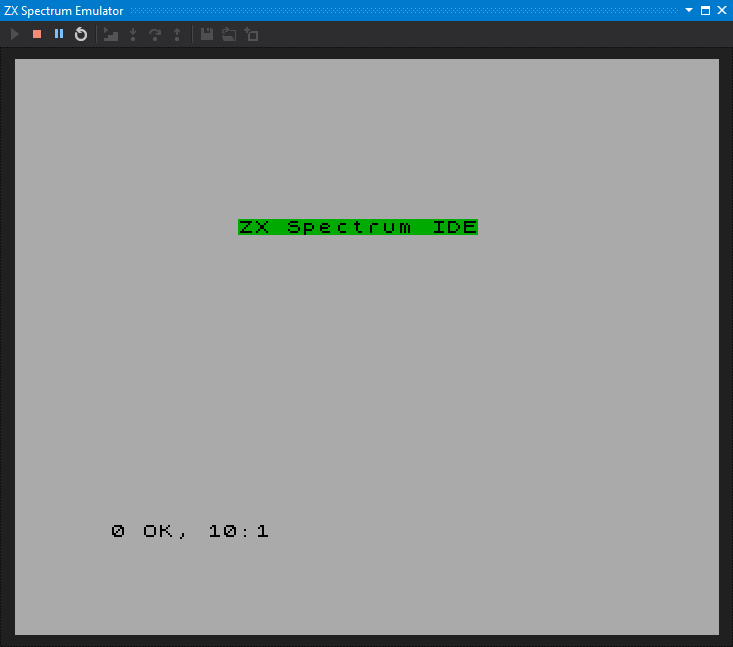
- As soon as the IDE created the project, you can discover a new top-level menu, ZX Spectrum IDE:
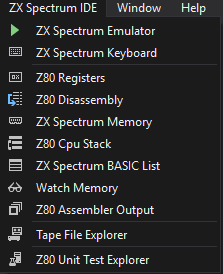
Run the ZX Spectrum Virtual Machine
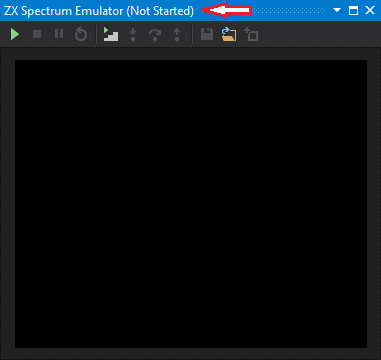
- Run the ZX Spectrum IDE|ZX Spectrum Emulator command. The IDE shows up the emulator tool window. As the title of the tool window indicates, the virtual machine is momentarily stopped.
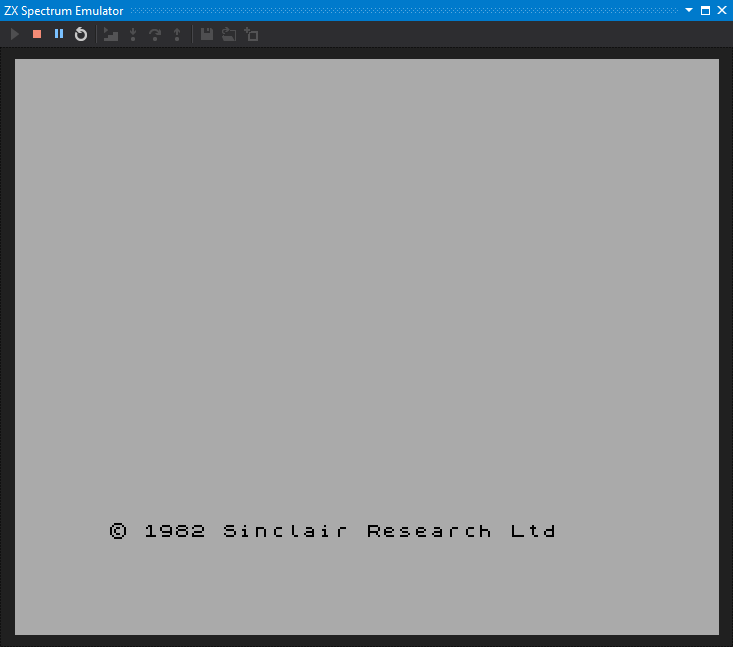
- Click the little Play icon in the toolbar of the emulator to start the virtual machine. The ZX Spectrum comes to life. As you resize the tool window, the emulator changes its screen size, accordingly.
- Type the
LOAD ""command into the emulator. Take care that the emulator window is the active one, receiving the keyboard focus, and press the J, and then twice the Shift+P keys again. With pressing Enter, you can executeLOAD "". Th virtual machine starts loading theWelcome.tzxfile.
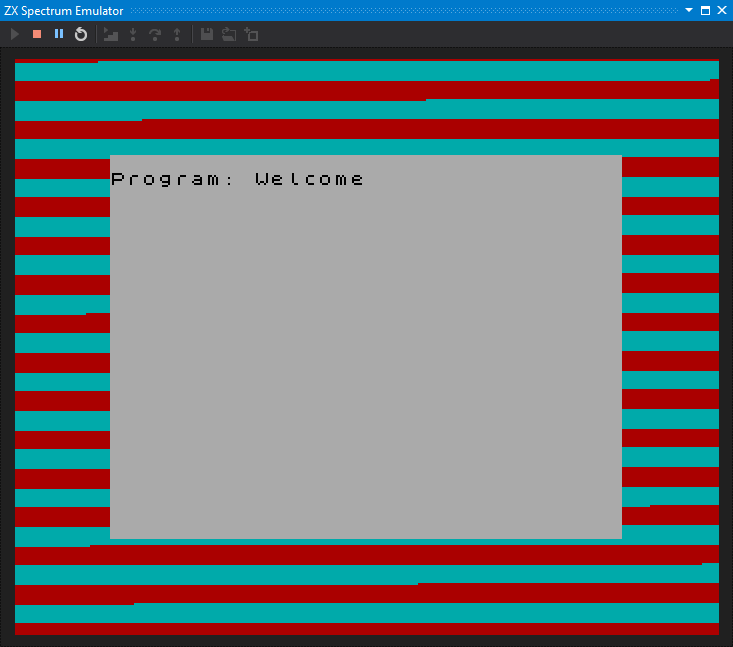
- When the game has been loaded, type the
RUNcommand into the emulator (while the emulator window is the active one, press the R key), and then, press Enter. The program starts, and displays its message:
You have just scratched the surface! There are many other features you can use in the IDE to discover the structure and internals of ZX Spectrum applications.