SpectNetIDE is an open source project with MIT license, and it is free to install. I implemented the ZX Spectrum IDE as a Visual Studio 2017/2019 extension (VSIX). Thus, you can run it only on Windows. Follow these steps to install the IDE:
-
You need Visual Studio installed on your machine. You do not have to pay to get a legal license for VS, SpectNetIDE works with the free Community edition seamlessly. You can download the Visual Studio edition of your choice from its home page.
-
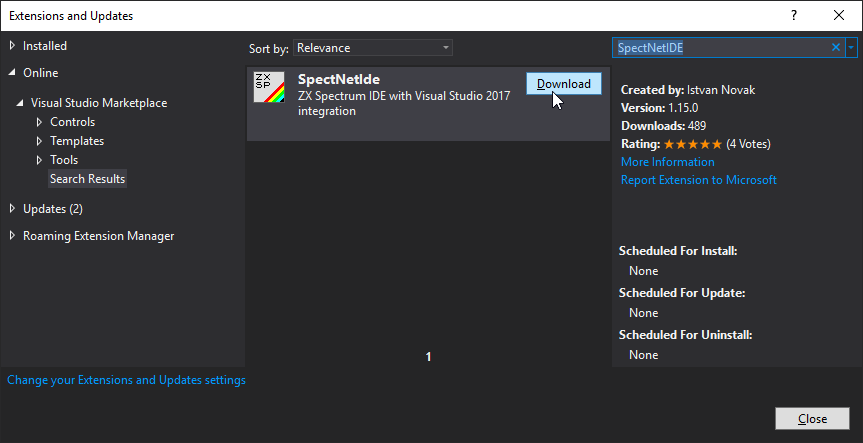
Select the Tools|Extensions and Updates menu command. It displays a dialog to install VS extensions. Click the Online tab and type “SpectNetIDE” in the search box.
-
The dialog looks up the Visual Studio Marketplace and displays the SpectNetIDE extension. Click Download to start the installation.
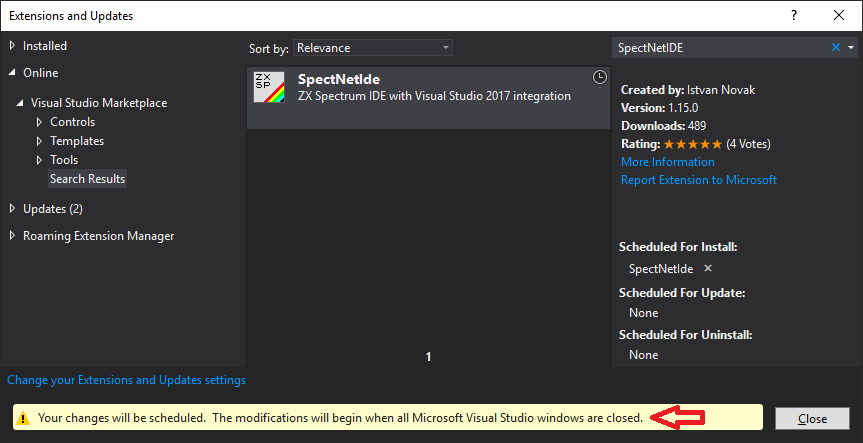
- The IDE prepares the downloaded package for setup. However, it will begin installing it only after you close Visual Studio.
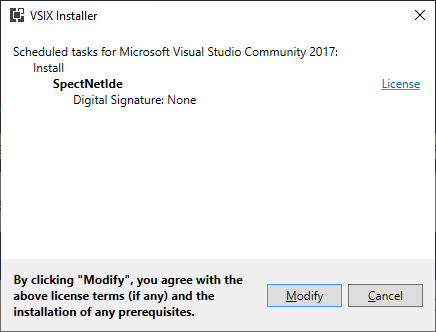
- When you have closed all running instances of Visual Studio, the VSIX installer automatically starts the setup. First, you have to confirm the license terms and click Modify.
- The VSIX installer sets up the extension—it takes less than a minute—and signs when it completes.
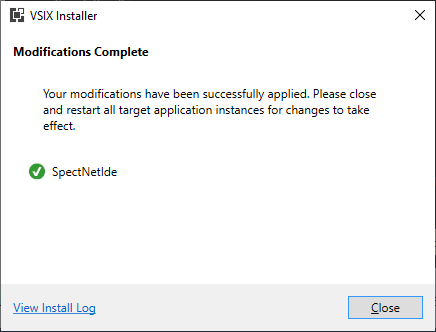
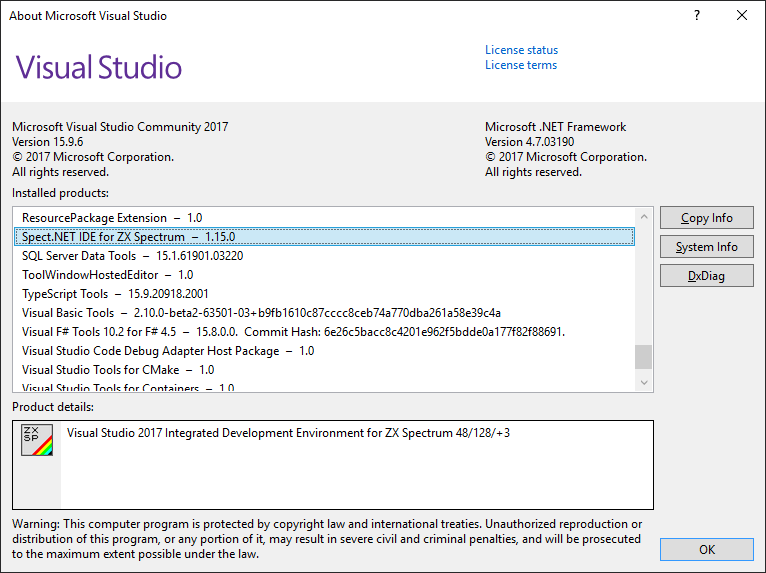
Now, SpectNetIDE is ready to use. When you start Visual Studio, in the Help|About dialog you can check it’s integrated with VS.
To get familiar with using the ZX Spectrum IDE, take a look at the other tutorials!