SpectNetIDE is an open source project with MIT license, and it is free to install. The ZX Spectrum IDE is implemented as a Visual Studio 2019 extension (VSIX). Thus, you can run it only on Windows.
You need Visual Studio installed on your machine. You do not have to pay to get a legal license for VS, SpectNetIDE works with the free Community edition seamlessly. You can download the Visual Studio edition of your choice from its home page.
When you install Visual Studio 2019, make sure you selected the .Net desktop development workload; otherwise you won’t be able to create ZX Spectrum projects.
Note: Right now, there are two versions of SpectNetIDE. The old one (v1.x), runs on Visual Studio 2017 and Visual Studio 2019. The new one (v2.x), can be installed only on Visual Studio 2019. Though both versions can be installed simultaneously in the IDE, they do not work together, so you need to install only one of them.
Removing SpectNetIDE v1.x
If you have not installed SpectNetIDE v1.x, jump to the next section; otherwise, follow these steps:
- Select the Extensions → Manage Extensions menu commands. It displays a dialog to handle your VS extensions. Click the Installed tab, and select SpectNetIde from the list.
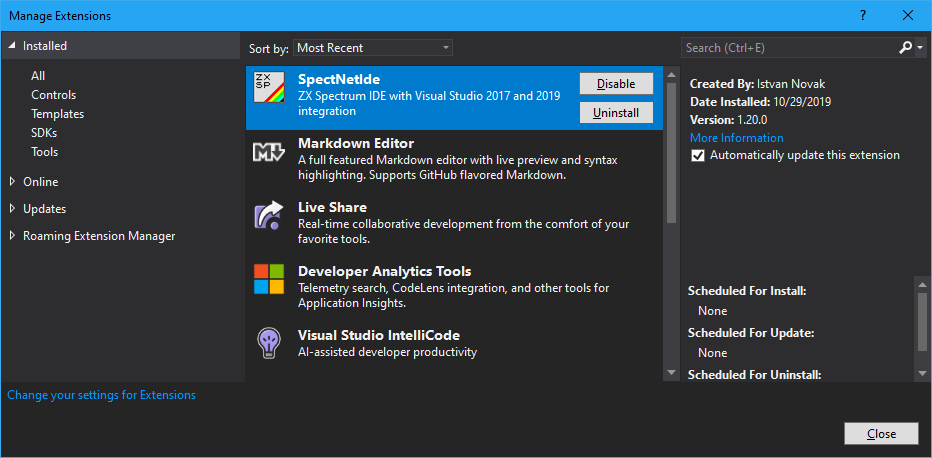
- Click Uninstall. Visual Studio marks the extension to remove. Now, close all open Visual Studio 2019 instances to carry on the removing process!
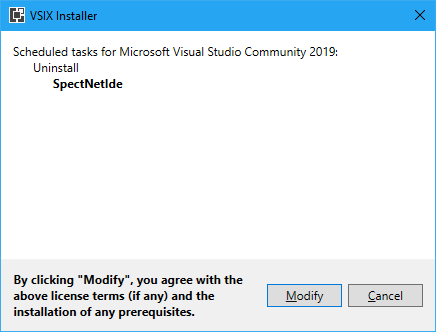
- Click Modify, and wait while VSIX Installer completes its operation. Next time you start the VS IDE, SpectNetIDE v1.x will not be on its extension list.
Installing SpectNetIDE v2.x
-
Start Visual Studio 2019, and in its start page, click Continue without code.
-
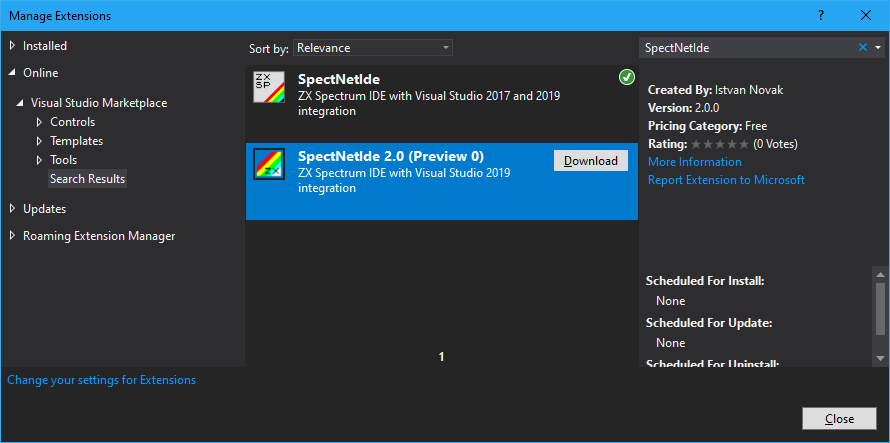
Select the Extensions → Manage Extensions menu command. It displays a dialog to install VS extensions. Click the Online tab and type “SpectNetIDE” in the search box.
-
The dialog looks up the Visual Studio Marketplace and displays the SpectNetIDE extensions. Select SpectNetIDE 2.0 and click Download to start the installation.
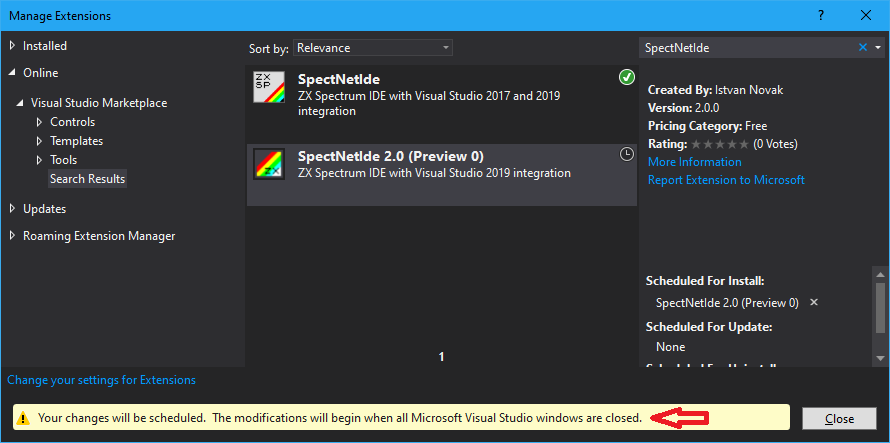
- The IDE prepares the downloaded package for setup. However, it will begin installing it only after you close Visual Studio.
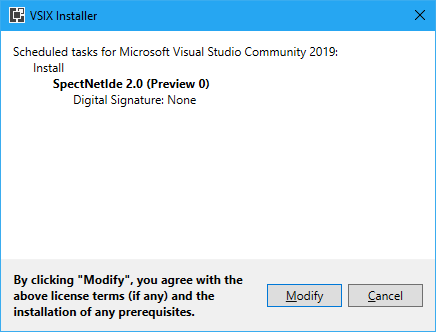
- When you have closed all running instances of Visual Studio, the VSIX installer automatically starts the setup. First, you have to confirm the license terms and click Modify.
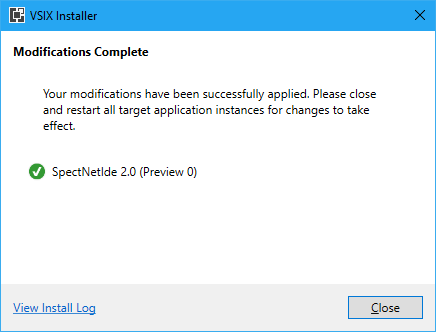
- The VSIX installer sets up the extension—it takes less than a minute—and signs when it completes.
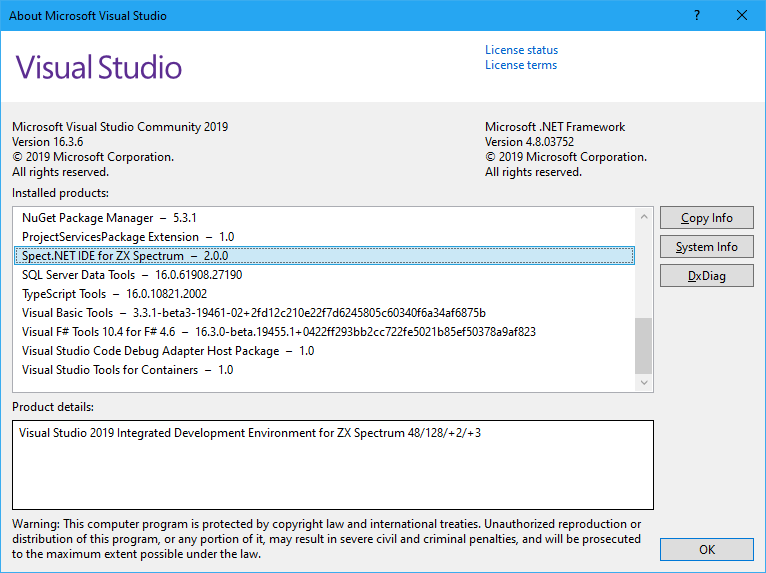
Now, SpectNetIDE is ready to use. When you start Visual Studio, in the Help|About dialog you can check it’s integrated with VS.
To get familiar with using the ZX Spectrum IDE, take a look at the other tutorials!