ZX BASIC (Boriel’s BASIC) is a separate product maintained by Jose Rodriguez-Rosa (Boriel). You can find more information about this product in Github. This site refers to several links that raise a 404 Error.
You can find the ZX BASIC Wiki here.
SpectNetIDE uses ZX BASIC as an external tool, so first, you have to install ZX BASIC to your computer. You can find the installation files here: https://www.boriel.com/files/zxb/.
Note: The newest versions can be found on the bottom of the page.
To set up ZX BASIC integration with SpectNetIDE, follow these steps:
- Download the ZXB version (with
zxbasic-n.n.n-win32.zip) you want to install (I suggest you to dowload the latest stable release). - Unzip this file, and copy to contents into your preferred installation folder.
Note: If you prefer the globally installed ZX BASIC version, please follow these instructions.
- Start a command prompt, select the installation folder with the
CDcommand, and then check the installation with this command line:
zxb --version
Note: This command cannot be executed in Powershell on Windows (only with the CMD command-line prompt).
If the current version number is displayed, your ZX BASIC installation is successful.
- Start Visual Studio 2019, and run the Tools → Options command.

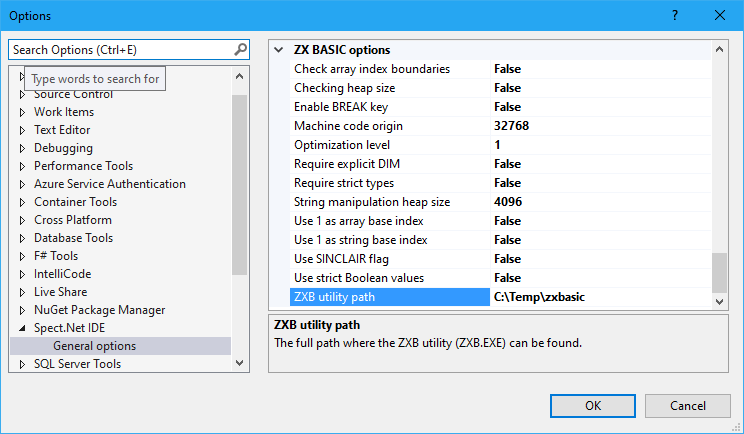
- In The Spect.Net IDE tab, set the ZXB utility path option to the folder where you installed ZX BASIC.
Alternatively, you can set up the PATH environment variable of your computer to point out to the ZX BASIC installation folder:
- In File Explorer right-click on This PC and run the Properties command.
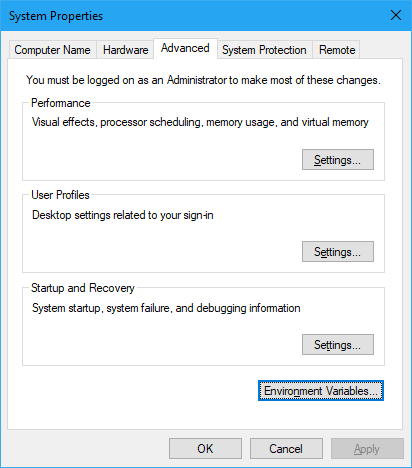
- Select Advanced System Settings, and then click Environment Variables:

- Acording to your preference, you can edit User variables or System variables to add a PATH fragment that points to the ZX BASIC installation folder.
Great! With these steps, you’re ready to use ZX BASIC. Now you can proceed to the next tutorial, Use ZX BASIC.